In order to make the fence spline working you have to prepare the model to assign to a fence in the correct way.
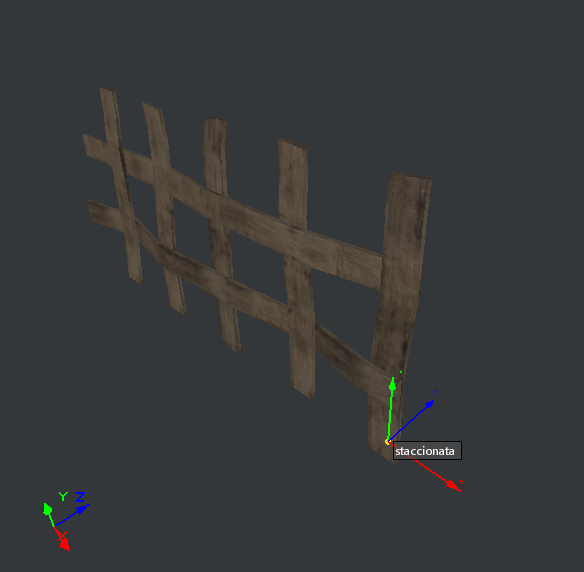
As showed in the image above, the model section must be orientated along the Z axis (blue axis).
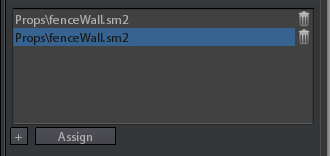
If you have a model with a different orientation you have to do following steps in order to make it compliant with fence tool (in the example, we use the fence model in the medieval town DLC that isn't orientated for the fence spline, we leave the user to repeat these steps on the medieval town fence model as an exercise):
Show the model into model editor
Select the unique node of the model (remember it must be a single mesh model, sm2)
choose the translate tool for visualizing the gizmo axis
Rotate the node in order to make the model section to be aligned with the z axis of the global gizmo (see model viewport).
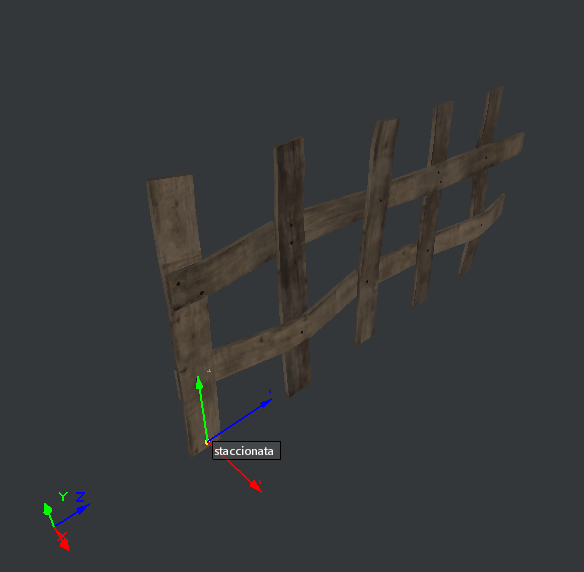
In our case we have rotated the node by 90 degree around the Y axis.
Finally click on Reset Xform () button to collapse the node rotation.
As a result our model is now in the correct orientation respect the global gizmo
When you change the model rotation in this way, all changes will be immediately aplpied to all models in the scene.
Save the model if you want to keep the changes when reload the project
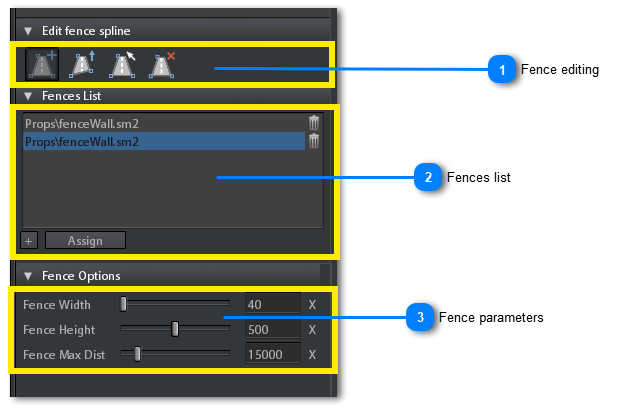
LIMITATIONS OF FENCE SPLINE
In the current version the fence spline doesn't allow the tiling of the mesh geometry when the distance between two successive points of the spline is greater that the length of the source mesh. This means that if you make 2 points of the spline too much far from each other, the mesh is stretched.
The tessellation of the spline depends from the density of triangles in the source mesh.
The orientation of the source mesh must be done in a certain way (see above)
The model from which to take the mesh must be static (sm2)