To properly display this page you need a browser with JavaScript support.
To access the terrain sculpting tool you must click on
icon in the terrain editor.
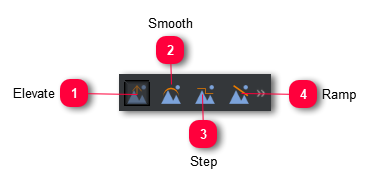
On top of the sculpt panel there is the following toolbar:
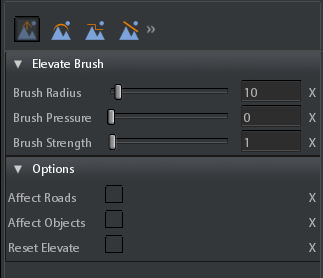
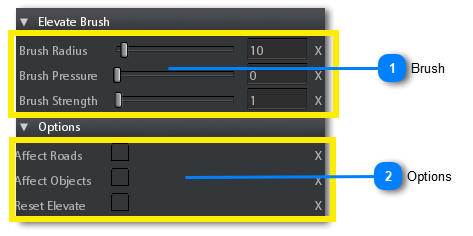
Elevate Click this button to open the elevate tool, used for creating depressions or reliefs on the terrain.
Brush
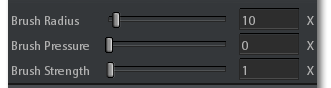
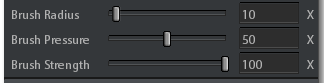
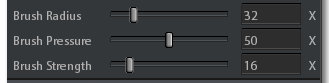
Brush radius : Radius of the sculpting brush. It is sized on the resolution of the heightmap (i.e. a radius of 10 means 10 pixels on the heightmap).
Brush pressure : Use this parameter to modify the smoothness of the brush.
Brush strength :Use this parameter to set how much quickly brush height values must be accumulated on the terrain.
Options
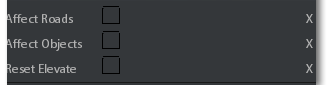
Affect roads : Terrain elevation must affect the roads, i.e. roads elevation follows the terrain elevation.
Affect objects : Terrain elevation must affect objects, i.e. object vertical position follows terrain height.
Reset elevate : If this nparameter is TRUE when you paint on the terrain its height is reset.
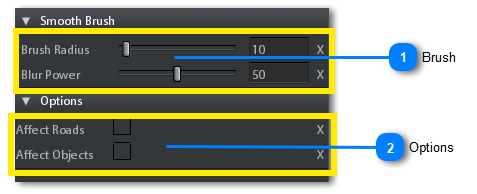
Smooth Click this button to open the terrain smooth tool.
This tool makes the brush to smooth the heightmap heights on which it is painted.
Brush
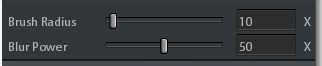
Brush radius : Radius of the smoothing brush. It is sized on the resolution of the heightmap (i.e. a radius of 10 means 10 pixels on the heightmap).
Blur Power : This parameter is used to set how much smooth the brush can perform.
Greater values mean terrain is smmothed quickly.
Options
Affect roads : Terrain elevation must affect the roads, i.e. roads elevation follows the terrain elevation.
Affect objects : Terrain elevation must affect objects, i.e. object vertical position follows terrain height.
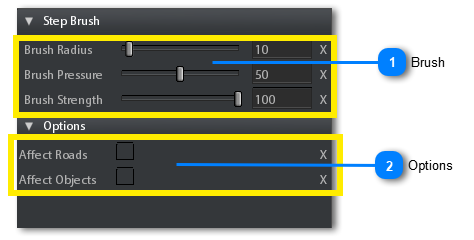
Step Click this button to open the terrain step tool.
The step tool makes the brush to paint an height value that is picked on the terrain at first click.
Brush
Brush radius : Radius of the sculpting brush. It is sized on the resolution of the heightmap (i.e. a radius of 10 means 10 pixels on the heightmap).
Brush pressure :Use this parameter to modify the smoothness of the brush.
The following images shows, respectively:
the effect using
brush pressure = 1 and
brush strength = 10
the effect using
brush pressure=50 and
brush strength=10
Brush strength :Use this parameter to set how much quickly brush height values must be accumulated on the terrain.
The following image shows the effect with brush pressure = 1 brush strength = 100
Options
Affect roads : Terrain elevation must affect the roads, i.e. roads elevation follows the terrain elevation.
Affect objects : Terrain elevation must affect objects, i.e. object vertical position follows terrain height.
Ramp Click this button to open the terrain ramp tool.
The ramp tool makes the brush to create a ramp from a previous position.
To do this:
Click on the terrain a first time to set the end position of the ramp
Click on the terrain a second time on another place to set the start position of the ramp.
Brush
Brush radius : Radius of the sculpting brush. It is sized on the resolution of the heightmap (i.e. a radius of 10 means 10 pixels on the heightmap).
Brush pressure : Use this parameter to modify the smoothness of the brush.
Brush strength :Use this parameter to set how much quickly brush height values must be accumulated on the terrain.
Ramp is produced by successively apply brush along the ramp line, lower values of brush strength mean less points of application.
Options
Affect objects : Terrain elevation must affect objects, i.e. object vertical position follows terrain height.