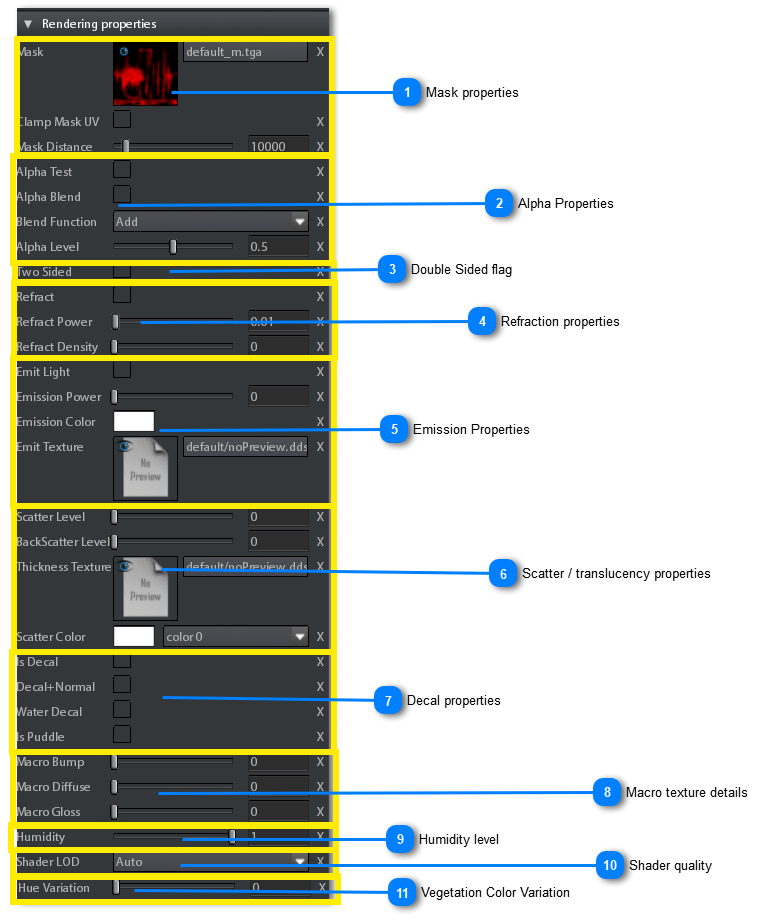
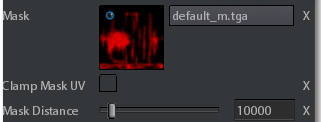
Mask: Layers Mask is an RGB or RGBA texture, where every channel is the mask of the corresponding layer (R for layer 1, G for layer 2, B for layer 3, A for layer 0).
The alpha channel of the mask is used as alpha transparency of the material (combined with the alpha channel of the layer 0 diffuse texture).
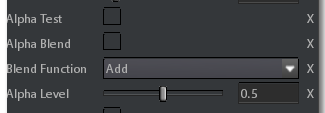
Alpha Test:Check this if you want parts of the surface be discarded basing on the alpha channel of the llayer 0 Diffuse texture
Alpha Blend:Enable the transparency of the material.
Blend Function: A combo Box listing all the available blending modes, it works only if Alpha Blend flag is enabled:
Add: the material color is added to the background
Opacity: transparency of the material is based on alpha channel of the layer 0 diffuse texture and alpha channel of the mask (if exists). It is the classical alpha blending.
Mul: The material color is multiplied for the background.
Alpha Level: Use this to set the tranpsarency intensity of the material. It works only if Alpha Blend flag is enabled:
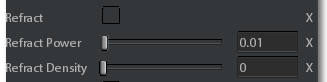
Refract:Enable this flag to make the material refractive.
Refract Power:Use this to set the intensity of the refraction. Can be from 0 to infinite.
Refract Density:Used in the case of volumetric refractive surfaces, like water. If > 0 it adds a special kind of fog behind the material surface for simulating a participating media.
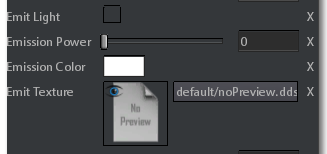
Emit Light: Enable this only in case you want a particle system to be emissive or the material is transparent and has an emission texture.
See Emit Texture parameter below.
Emission Power: Use this to set the intensity of emission. Can be 0 (no emission) to infinite.
Emission Color: A color that is multiplied with the emission texture color.
Emit Texture: The Emission texture. A texture map defining the what part of the material are emissive (white) and what not (black).
You must set this if you want a material be emissive.
Starting from 2018.1 version there are some combinations of Emit Light flag and Emit Texture that cause the material to become invisible giving invalid results.
Following is a summary table showing valid / invalid combinations:
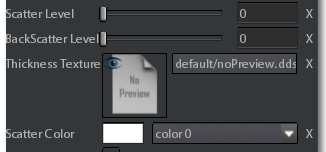
Scatter Level: Subsurface scattering level. Values for 0 to 1.
BackScatter Level: Translucency level. Values from 0 to 1.
Thickness texture: It is a grey scaled texture map used for controlling the amount of scattering and translucency on a per texel basis. White is max scattering, black is minimum.
Scatter color: This is a list of colors that can be used for colouring the scattering effect. For example red could be used for simulating the skin scattering.
The combo box is used for selecting the color index you want to use, the colo bix is used for customizing the color at that index.
There are 8 possible colors to be used for all materials. If you change one of the colors of the list, the change will be reflected on all the materials
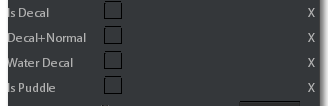
Is Decal: The material is rendered using decal shader path.
In the simple case the material albedo is blended with the backgorund albedo, but normal and roughness are unused, i.e. normal and roughness of the background remain untouched.
Decal+Normal: Enable this flag if you want the decal normal+roughness is blended with the background. This works only if IsDecal is enabled.
Water Decal: Enable this if you want the material must be applied to decal used in the water or ocean. (see Decal for more info).
Is Puddle: Enable this if you want the decal must be a Puddle.
Pubble decals are faded-in / faded-out using the puddleLevel parameter in the weather section of the Special FX editor
These parameters are specific for materials with more than one layer.
Normally layers are rendered using alpha blending on the layer mask, on either diffuse and normal (normal + rouighness + metallic) texture, this means that:
layer 1 replaces layer 0 where the R channel of the mask has value 1 (white),
layers 0 and 1 are replaced by layer 2 where G channel of the mask has value 1
layers 0,1 and 2 are replaced by layer 3 where B channel of the mask has value 1.
Using these parameter the blending mode between layer 0 and all the others (1,2,3) can be changed basing on the texture type (albedo, normal and roughness).
Blending between layers 1,2 and 3 doesn't change.
For albedo the alpha blending can be replaced with multiplicative blending between layer 0 and all the others.
For normal the alpha blending can be replaced with normalized additive blending, between layer 0 and all the others.
In the case of roughness the alpha blending remains but it is performed for making layer 0 roughness to replace the roughness of all other layers.
The follow list explain every parameter in details:
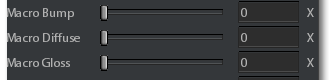
Macro Bump: Use this for making the layers 1 to 3 normal map to affect less / more the normal map of layer 0 (in those parts where the mask is > 0).
Value 0 means the Macro Bump is disabled. Values > 0 macro bump is enabled and layer 1,2,3 normals increases towards value 1 over the layer 0 normal map.
Macro Diffuse:Use this for making the layers 1,2,3 albedo map to be multiplied by the albedo map of layer 0 (in those parts where the mask is > 0).
Value 0 means Macro Diffuse is disabled, Values > 0 macro diffuse is enabled and layer 1,2,3 albedo are incrementally multiplied by layer 0 albedo.
Macro Gloss:Use this for making the layer 0 roughness to affect less / more the roughness of other layers (in those parts where the mask is > 0).
Value 0 means layer 0 roughness is replaced by other layers roughness where mask is > 0 (Macro gloss disabled), value > 0 until 1 means layer 0 roughness incrementally overlaps roughness of all other layers.


 There are 8 possible colors to be used for all materials.