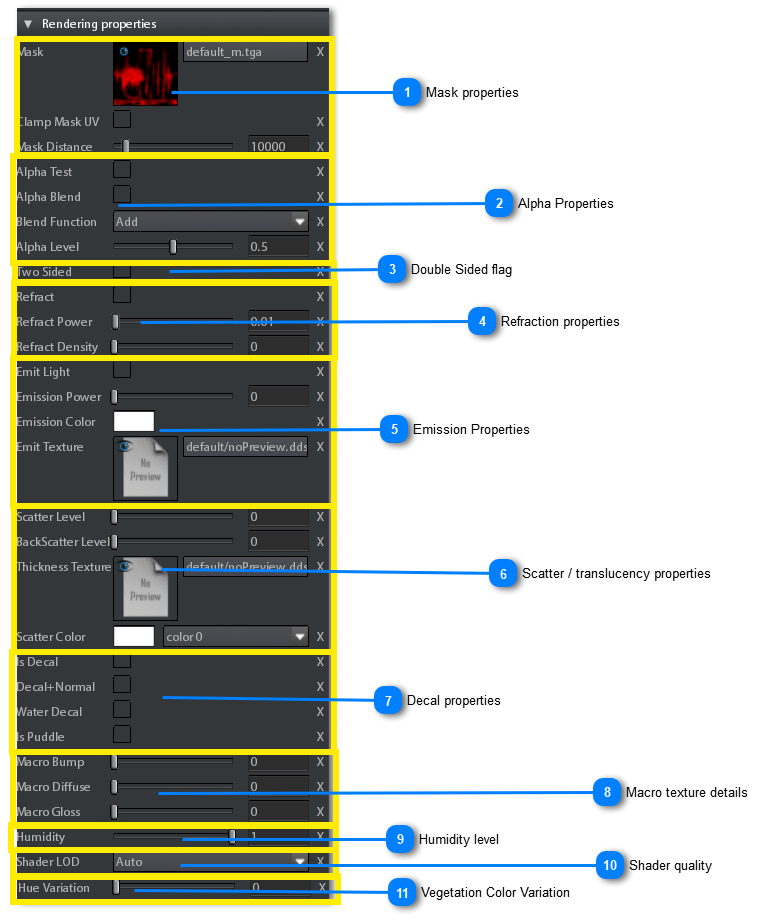
 Mask properties-
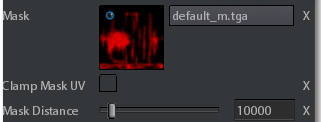
Mask: Layers Mask is an RGB or RGBA texture, where every channel is the mask of the corresponding layer ( R for layer 1, G for layer 2, B for layer 3, A for layer 0).
The alpha channel of the mask is used as alpha transparency of the material (combined with the alpha channel of the layer 0 diffuse texture).
-
Clamp Mask UV: Check this if you want to clamp between 0 and 1 the UV coordinates of the mask texture
-
Mask Distance: Maximum distance the material layers upon layer 0 can be visible. it is used for speeding up shader when an object is far.
|
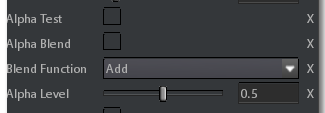
 Alpha Properties-
Alpha Test: Check this if you want parts of the surface be discarded basing on the alpha channel of the llayer 0 Diffuse texture
-
Alpha Blend: Enable the transparency of the material.
-
Blend Function: A combo Box listing all the available blending modes, it works only if Alpha Blend flag is enabled:
-
Add: the material color is added to the background
-
Opacity: transparency of the material is based on alpha channel of the layer 0 diffuse texture and alpha channel of the mask (if exists). It is the classical alpha blending.
-
Mul: The material color is multiplied for the background.
-
Alpha Level: Use this to set the tranpsarency intensity of the material . It works only if Alpha Blend flag is enabled:
|
 Double Sided flagCheck this if you want the surface be visible front and back
|
 Refraction properties-
Refract:Enable this flag to make the material refractive.
-
Refract Power:Use this to set the intensity of the refraction. Can be from 0 to infinite.
-
Refract Density:Used in the case of volumetric refractive surfaces, like water. If > 0 it adds a special kind of fog behind the material surface for simulating a participating media.
|
 Emission Properties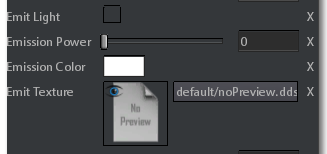 -
Emit Light: Enable this only in case you want a particle system to be emissive or the material is transparent and has an emission texture.
See Emit Texture parameter below.
-
Emission Power: Use this to set the intensity of emission. Can be 0 (no emission) to infinite.
-
Emission Color: A color that is multiplied with the emission texture color.
-
Emit Texture: The Emission texture. A texture map defining the what part of the material are emissive (white) and what not (black).
You must set this if you want a material be emissive.
Starting from 2018.1 version there are some combinations of Emit Light flag and Emit Texture that cause the material to become invisible giving invalid results.
Following is a summary table showing valid / invalid combinations:
|
Object type
|
Emit Light
|
Emit Texture
|
Result
|
|
Particle system
|
x
|
x
|
valid
|
|
Particle system
|
x
|
|
valid
|
|
Particle system
|
x
|
x
|
valid
|
|
Normal mesh Opaque
|
x
|
|
invalid
|
|
Normal mesh Opaque
|
x
|
x
|
invalid
|
|
Normal mesh Opaque
|
|
x
|
valid
|
|
Normal mesh Transparent
|
x
|
x
|
valid
|
|
Normal mesh Transparent
|
|
x
|
invalid
|
|
Normal mesh Transparent
|
x
|
|
invalid
|
|
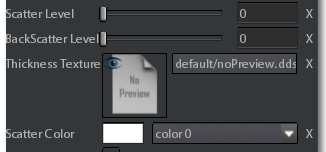
 Scatter / translucency properties |
Decal properties |
 Macro texture detailsThese parameters are specific for materials with more than one layer.
Normally layers are rendered using alpha blending on the layer mask, on either diffuse and normal (normal + rouighness + metallic) texture, this means that:
-
layer 1 replaces layer 0 where the R channel of the mask has value 1 (white), -
layers 0 and 1 are replaced by layer 2 where G channel of the mask has value 1 -
layers 0,1 and 2 are replaced by layer 3 where B channel of the mask has value 1.
Using these parameter the blending mode between layer 0 and all the others (1,2,3) can be changed basing on the texture type (albedo, normal and roughness).
Blending between layers 1,2 and 3 doesn't change.
-
For albedo the alpha blending can be replaced with multiplicative blending between layer 0 and all the others. -
For normal the alpha blending can be replaced with normalized additive blending, between layer 0 and all the others. -
In the case of roughness the alpha blending remains but it is performed for making layer 0 roughness to replace the roughness of all other layers.
The follow list explain every parameter in details:
-
Macro Bump: Use this for making the layers 1 to 3 normal map to affect less / more the normal map of layer 0 (in those parts where the mask is > 0).
Value 0 means the Macro Bump is disabled. Values > 0 macro bump is enabled and layer 1,2,3 normals increases towards value 1 over the layer 0 normal map.
-
Macro Diffuse:Use this for making the layers 1,2,3 albedo map to be multiplied by the albedo map of layer 0 (in those parts where the mask is > 0).
Value 0 means Macro Diffuse is disabled, Values > 0 macro diffuse is enabled and layer 1,2,3 albedo are incrementally multiplied by layer 0 albedo.
-
Macro Gloss:Use this for making the layer 0 roughness to affect less / more the roughness of other layers (in those parts where the mask is > 0).
Value 0 means layer 0 roughness is replaced by other layers roughness where mask is > 0 (Macro gloss disabled), value > 0 until 1 means layer 0 roughness incrementally overlaps roughness of all other layers.
 Macro Gloss works only if Macro Bump is > 0.
|
 Humidity levelThis value is multiplied by the Humidity value in the FX editor. It is used for controlling the amount of humidity on a per object basis when the humidity level of the scene (in the FX panel) increases.
Valid values range from 0 to 1.
|
 Shader qualityThis is used for setting how the shader of a material must be rendered.
There are 4 options:
-
Auto: the shader quality is determined by the distance from the camera.
-
Hi: the shader quality is always high, regardless from the camera distance
-
Med: the shader quality is always medium, regardless from the camera distance
-
Low: the shader quality is always low, regardless from the camera distance
|
 Vegetation Color VariationHue variation has effect only if material is marked as vegetation (see Misc Properties). It is used for giving a small color variation to the vegetation basing on its position.
|
|




 There are 8 possible colors to be used for all materials.

