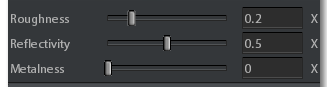
Roughness: values from 0 (miniumu roughness) to 1 (max roughness)
Reflectivity: values from 0 (minimum) to 1 (maximum), usual values are about 0.25 - 0.65
Metallic: values for 0 (no metallic) to 1 (maximum metallic)
The reflectivity and metallic parameters are set to 0 by default.
So, if your material is metallic your have to set the metallic parameters to a value > 0 to see any effect
instead, if your material is non metallic you have to set reflectivity to a value > 0 to see any reflection effect
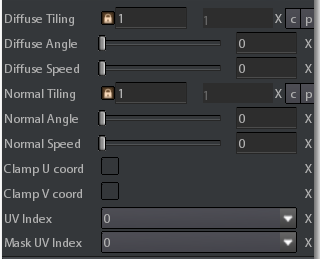
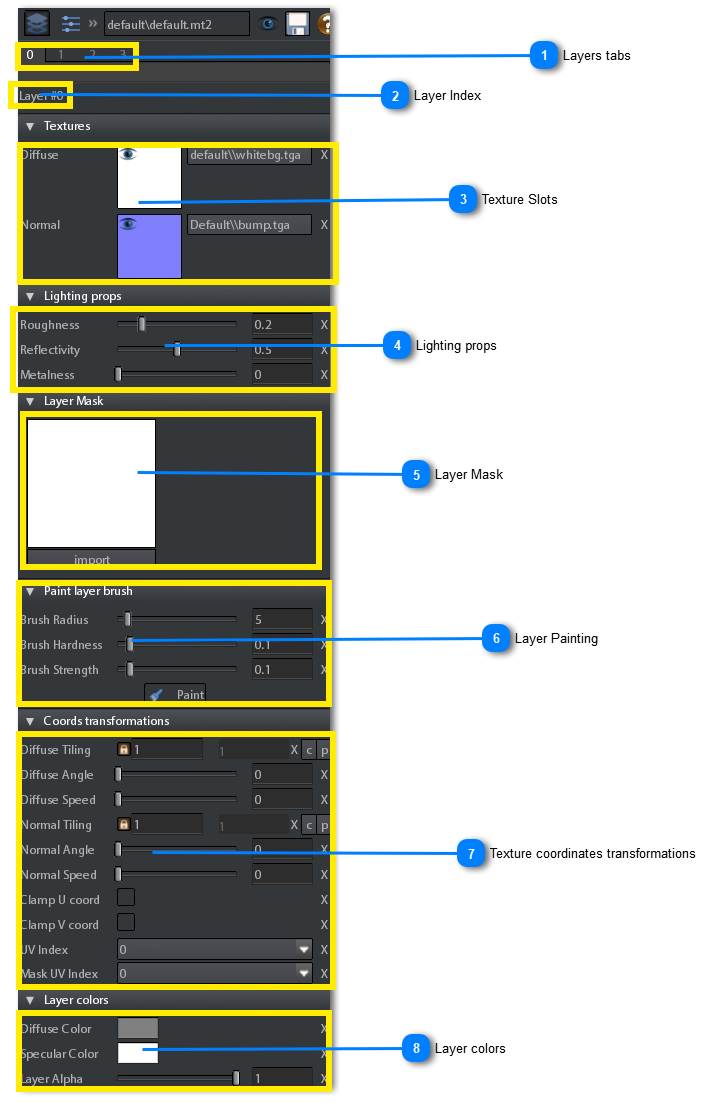
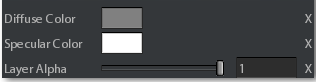
Here you can set the color related properties of the layer:
Diffuse Color: this is the color multiplied to the diffuse texture of the layer
Specular Color: this is the color multiplied to the specular highlight of the layer. It works only for certain types of material (for example transparent).
Layer Alpha: use this to set the alpha transparency of the layer. For layer 0 it corresponds to the material alpha.
By default a material as only 1 layer enabled (1 diffuse + 1 normal texture).
If you want to enable more than 1 layer you need first to create a mask texture.
To create a mask texture you can proceed in 2 alternate ways:
Create a new texture as in Creating Textures paragraph. In this way you have to choose between a 32 bit texture if you need the alpha channel (for example in the case of decal materials) or 24 bit if you do not need it.
Once you created the texture you have to assign it as mask to the material by drag 'n' drop it into the mask slot of the Material Properties tool, like showed into the following animated gif:
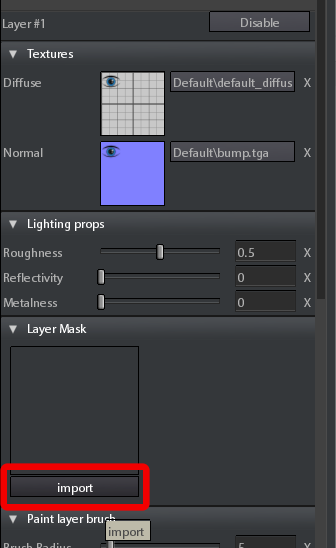
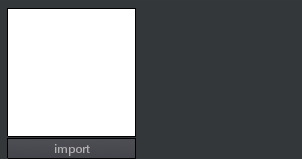
If you already have a mask produced by an external program (like Photoshop) you can import it directly into an enabled layer.
In this way you have to first enable the layer (as described below) and then click on import button into the Layer Mask section of the enabled layer tab:
The mask to import must be a greyscale texture. If you try to import an RGB texture only the red channel will be imported.
Also note that if you want to import the a mask on the subsequent layers, the texture must be the same resolution as the first one imported
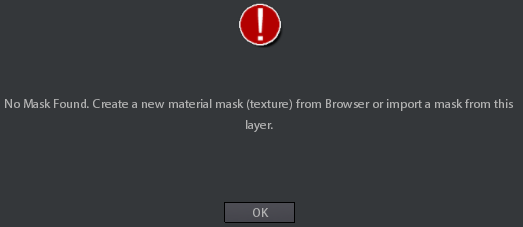
In the case the material hasn't a mask assigned, when importing a mask into the layer, a popup dialog appears, informing you that a new mask for the material has been automatically created and assigned to it.
If the material has already a mask assigned to it, be sure the mask you want to import has the same resolution of the mask assigned to the material, otherwise an error message could appear
ENABLING A LAYER
By default Layer 0 is always enabled, so it cannot be disabled.
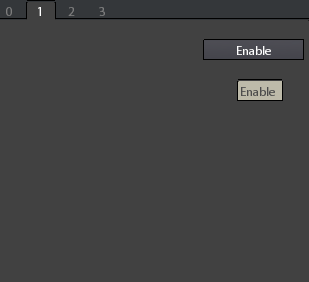
The first time you select a layer different from Layer 0, it is empty, and only enable button is visible, as showed into the following image:
To enable the layer click on Enable button.
At this point, if you haven't assigned a mask to the material yet, a popup dialog appears: