Items
Items are collectable objects that player can pick-up and store inside the inventory.
Basing on their types, items can be used, examined or both.
Some items can be equiped before being used, see Handling items.
Items are represented by two kind of scene objects:
If you want to add an item in your game and allow player to pick-up it and store it into the inventory you need:
-
An itemTAG. You can drag and drop a premade itemTAG from the project browser (see below to know what are premade items), or you can create an itemTAG from scratch following the creation procedure. If you create an itemTAG from scratch remember to set the following important parameters:
-
model: the model representing the item into the scene.
-
DestroyWhenTaken: check it if you want the itemObject to disappear when player picks up it.
-
useWhenTaken: check it if you want the player to use the item just when he picks up it.
-
unlimitedUse: check it if you want item count to be infinite (see itemTAG parameters for more info).For a complete overview of itemTAG specific parameters see itemTAG paragraph
-
An itemObject prefab. You can create it following the prefab creation procedure. If you used a premade itemTAG you can use the related premade itemObject. When you create a prefab from scratch remember to set following important parameters:
-
fsm: the gameMachine the itemObject must execute when spawned.
-
icon:the image representing the item into the inventory.
-
iconLit:the image representing the item into the inventory when it is selected.
-
maxCount:the maximum number of items of this type inventory can contain.
-
locked:check it if you want the item to be unusable until player receives the UNLOCK_ITEM message (see player messages)
-
TAGprefab:it is the prefab of the related itemTAG. USe this if you want the item can be dropped from the inventory. (see dropping items/weapons)
model parameter usually is not required by an itemObject.
For a complete overview of itemObject most important parameters see itemObject paragraph
|
When an item is used (pressing the use command key in the inventory or on the HUD, see handling items ) an itemOIbject is instanced.
By default an ItemObject doesn't do anything but if you attach to it a GameMachine you can make it doing anything you want.
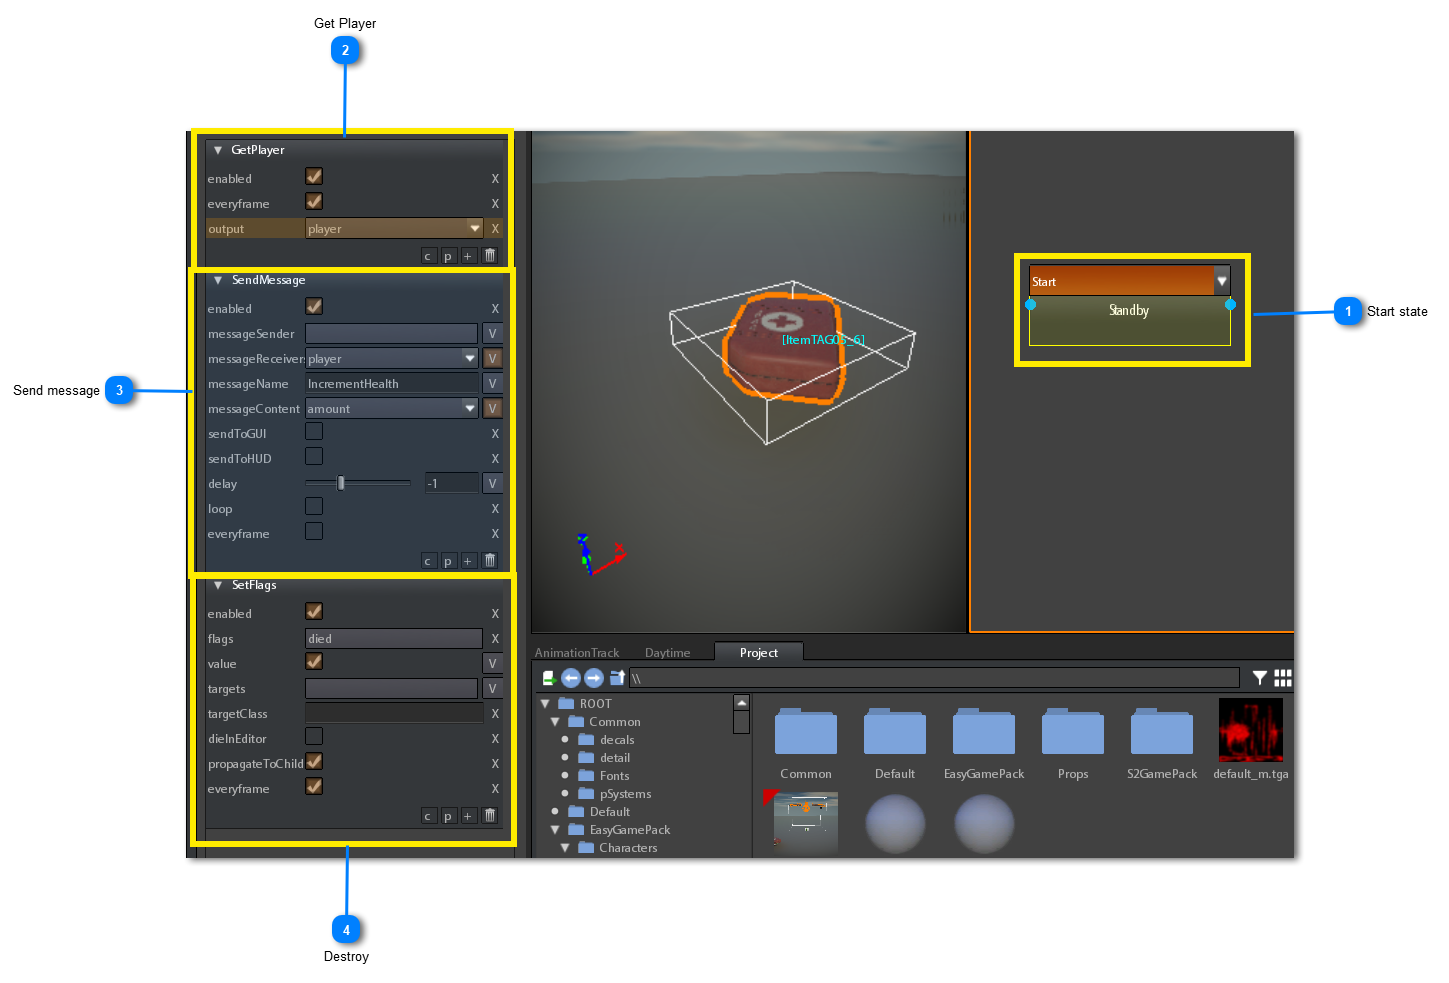
The following is the gameMachine of the health premade itemObject:
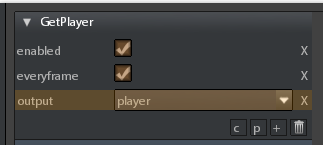
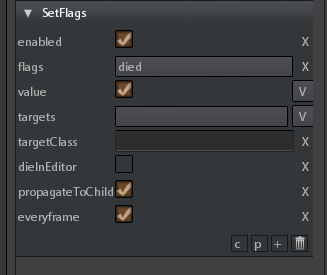
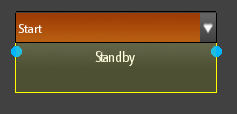 As you can see there is only one state we called "standby" (but you can name it as you want) that is executed just when the itemObject starts to live.
|
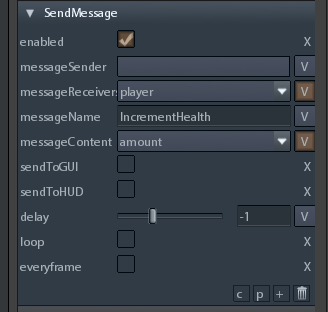 Once we have got the reference to the player we can send it a message using the sendMessage action.
In this case the message is the "IncrementHealth" message (see player messages).
|
In the EasyGamePack DLC there are some "out of the box" items and GameMachines that you can used as starting point for your custom items.
Following is the list of most important GameMachines used for pre-made items that you can re-use for your needs:
|
Name
|
Location
|
Description
|
Parameters
|
|
map.gms
|
EasyGamePack/items
|
This is used for examining an item when it is stored into the inventory. When it is examined, an item can be rotated around a pivot point and moved to and from camera.
|
|
|
examineWhenTaken.gms
|
EasyGamePack/items
|
This is used for examining an item that isn't stored into the inventory but it is simply examined and then placed again in the same point it has been taken, see Examine only items. Its behaviour is same as map.gms
|
same as map.gms
|
|
key.gms
|
EasyGamePack/items
|
Used when you want to use a item as a key. See keys
|
nn
|
|
health.gms
|
EasyGamePack/items
|
Used when you want a item to restore player health
|
amount: health amount to increase
|
|
armor.gms
|
EasyGamePack/items
|
Used when you want a item to restore player armor
|
amount: armor amount to increase
|
|
ReleaseItem.gms
|
EasyGamePack/items
|
This is related to a more complex behaviour item. It is used on an itemObject that is linked to an examinable itemObject.
For example a cigarette pack containing a key (an itemTAG). The player can pick-up the cigarette pack and store it into the inventory, then he can examine the pack, open it and take the key.
In the moment the key is taken, the pack can be deleted from inventory and replaced by the taken key.
The pack is deleted just using the ReleaseItem GameMachine attached to the key itemTAG linked to the cigarette pack.
This GameMachine works by sending a RELEASE_ITEM message to the Player.
|
parentPrefab: the prefab
|
