Creating Terrain
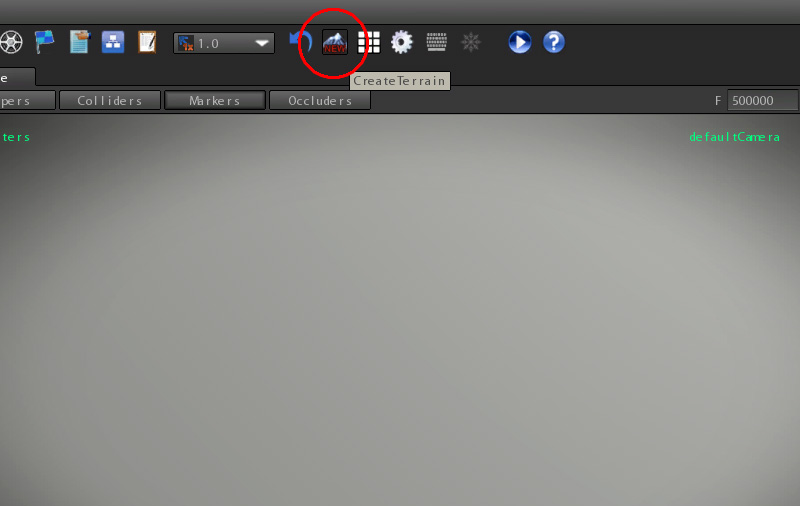
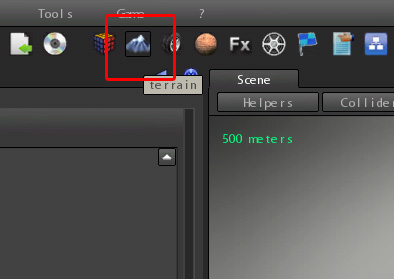
In S2Engine HD terrains are special objects, single for each scene. Terrains are created basing on an heightmap, painting the heightmap is just as sculpting the terrain. Also terrains are coloured with a special material that contains a mask, called terrain layer mask. Each channel of the mask contains information about where to paint textures on the corresponding terrain layer (texture splatting). Terrain material also contains a colour map which store colors that are blended with terrain layers. To create a new terrain click on the new terrain icon as showed in the image below:
A dialog appears that let you to setup the terrain you want to create:
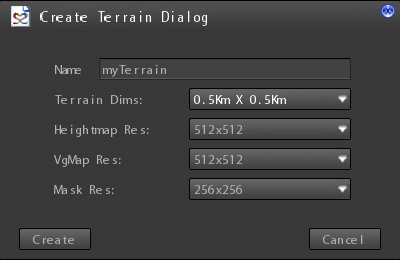
- Name: Input box that must contains the name of the terrain material you want to create. When terrain is created a new material is also created into the Materials/Terrains/ folder.
- Terrain Dims: this combo box lets you to set the world dimensions (expressed in Kilometers) of the terrain. Available dimensions are 8x8,4x4,2x2,1x1,0.5x0.5.
- Heightmap Res: the resolution of the heightmap. Bigger the resolution more terrain details you obtain. Note that this implies also more used system and graphics memory
- VgMap Res: Vegetation Map resolution. Vegetation map (see below) is a map containing information about where are placed the objects of a given vegetation layer. More high is this resolution more precisely you can place vegetation on the terrain. The vegetation map uses exclusively system memory But it must be also set carefully preventing out of memory problems.
- Mask Res: This is the resolution of the Terrain textures layer mask and of the terrain colour map. It consumes more memory (especially graphics memory) than all the other maps and it is responsible of the terrain texture splatting. Bigger the resolution more details you can paint on the terrain.
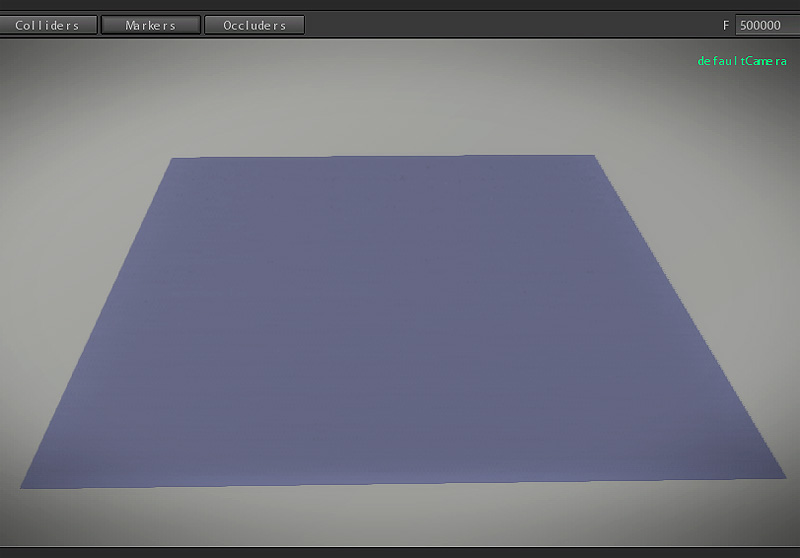
When created for the first time terrain appears like this:
Importing Heightmap
From 1.03.01 version Heightmaps can be imported as external picture.
Supported formats for now are:
- 8-bit uncompressed TGA image
- 16-bit TIFF image
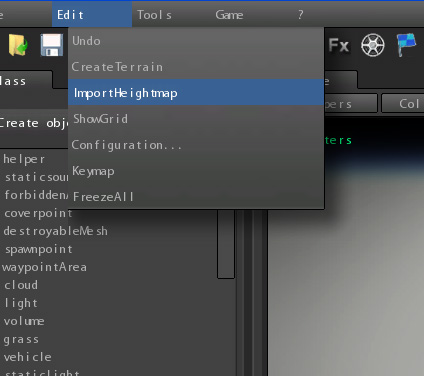
The picture must be a greyscale and it must have the same resolution as the Heightmap Res specified when creating the terrain. To import the heightmap select ImportHeightmap item from the edit submenu as showed into the following image:
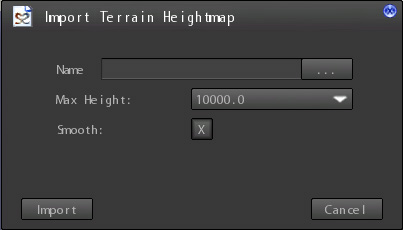
The import Terrain Heightmap dialog will appear:
- Name: Filename of the image to import. NOTE that the image must be inside the Textures folder of s2engine.
- Max Height: the maximum height that the terrain must have after imported the heightmap. It is expressed in centimeters and must be between 0 and 32768 (327,68 meters).
- Smooth: This flag is set to prevent step effect due to the limited precision of 8-bit images.
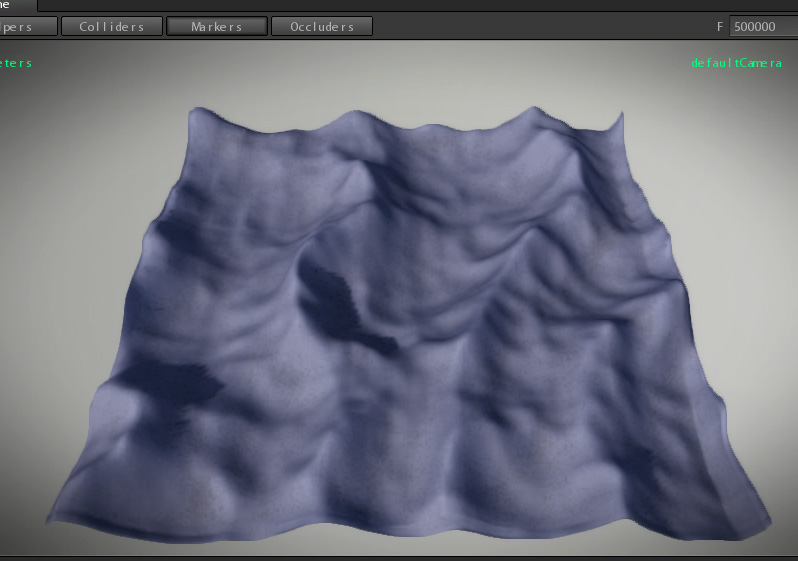
After importing the heightmap your terrain will look similar to this:
Terrain Properties
Sculpting Terrain
S2Engine HD Editor is also a terrain editor. You can sculpt, paint colors, vegetation and roads. To edit your terrain click on the terrain tool icon as showed into the following image:
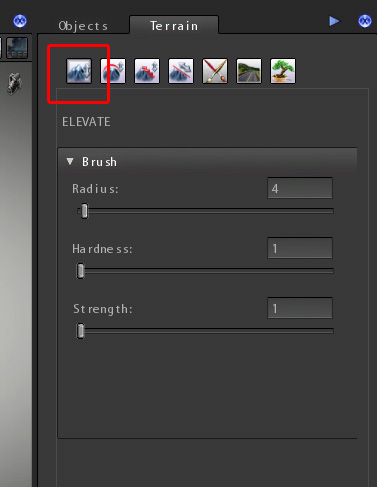
The terrain tool tab will appear on the right panel. There are 4 brush modes for sculpting, each of them has its params:
Elevate
Is the standard sculpting brush.
- Radius: the radius of the sculpting brush
- Hardness: this value determines how smoothed must be the elevation
- Strength: this value determines how much must be the elevation.
Elevate brush simply adds or subtract height to the terrain. To add you simply hold left mouse button on the part of terrain you want to sculpt, otherwise To substract you have to hold Ctrl+left mouse button.
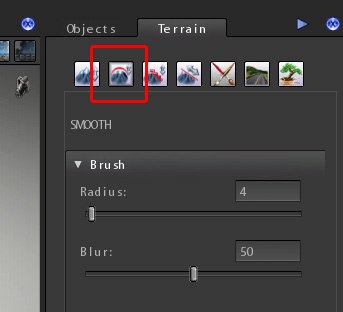
Smooth
This brush let you to smooth the heights in order to adjust too sharp parts of the terrain.
- Radius: the radius of the sculpting brush.
- Blur: this values determines how much brush must smooth the terrain.
- Attention
- In the case of this type of brush the combination Ctrl+left mouse doesn't produce changes.
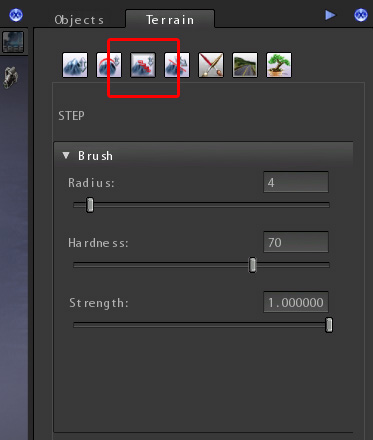
Step
This brush is also known as terrace brush. When you hold left mouse button this brush gets the height of the first point it touch and then replicates that height over the places of the terrain where it moves. The result is a flat surface taking the shape of a terrace.
- Radius: the radius of the sculpting brush
- Hardness: this value determines how smoothed must be the terrace
- Strength: this value determines how much the terrace must be constrained to the start height.
- Attention
- In the case of this type of brush the combination Ctrl+left mouse doesn't produce changes.
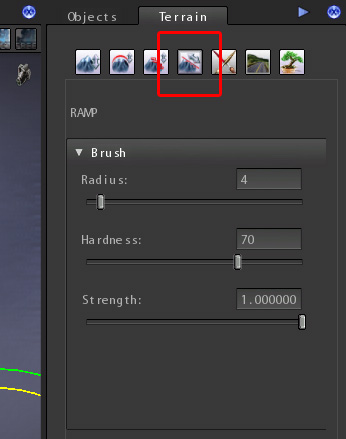
Ramp
This brush lets you to create a ramp between two points of the terrain. To use it click the first time to determine the start point from which create the ramp and then click another time to determine the end point of the ramp: the system automatically will create it.
- Radius: the radius of the sculpting brush
- Hardness: this value determines how smoothed must be the ramp
- Strength: this value determines how much the ramp must be constrained to the start and end point heights.
- Attention
- In the case of this type of brush the combination Ctrl+left mouse doesn't produce changes.
Painting Terrain
As anticipated, terrain colors are determined by various features:
- A base texture which determines the base tiled texture
- Four layers that are composed, each, of two tiled textures, a diffuse map and a normalmap. In particular the first layer (layer 0) is blended with the base texture in a special manner related to the terrain surface slope: for slopes greater than a certain value base texture is drawed, otherwise layer 0 diffuse map is drawed. This gives am additional variety to the terrain colors. Generally the base texture is a grass texture and layer 0 textures are rock textures.
- A color map, extended over the whole terrain, which colors are blended with all terrain textures. Generally this map is very useful for the terrain look at far distance.

- BASE TEXTURE
- Slope: The slope at which the texture must appear. Greater values make texture appear when surface is almost horizontal
- Height: The max height over which the texture doesn't appear.
- Tiles: Manage the tiling and scrolling of the texture
- X: horizontal tiling
- Y: vertical tiling
- BRUSH In this section you define the brush which be used for painting the terrain. Just like for sculpting, also for painting you must hold left mouse button and for erasing you must hold Ctrl+left mouse button.
- Radius: the radius of the painting brush
- Hardness: this value determines how smoothed must be brush.
- Strength: this value determines the brush pressure.
- Slope: just as for Base texture you also can define the slope at which the brush takes effect. In this case greater values mean brush isn't painted on steeper surfaces.
- Color: the color the must be painted on the color map of the terrain. NOTE that colors are independent from layers.
- LAYERS Terrain supports up to 4 layers, numbered from 0 to 3. Layers from 1 to 3 can be painted on layer 0. Layer are painted int the same order that appear in the editor tab box: layer 1 is painted on layer 0, layer 2 on layer 1 and 0 and layer 3 on all layers.
- FS: specular coefficient. To make the layer more/less specular move the FS slider. Values can be from 0.0 (completely matte) to 256.0 (completely metallic).
- DiffuseTile: Manage the tiling and scrolling of the diffuse texture
- X: horizontal tiling
- Y: vertical tiling
- Normal Tile: Manage the tiling and scrolling of the normal texture
- X: horizontal tiling
- Y: vertical tiling
Terrain Occlusion
Adding Vegetation
To add vegetation to the terrain:
- Go to the vegetation tool of terrain tool panel by clicking on the related icon as showed into the following image:
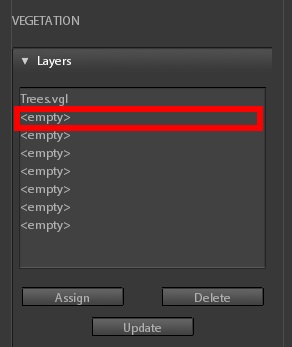
- Click an <empty> slot.
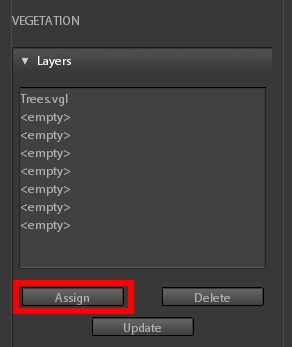
- Click on Assign button to assign a vegetation configuration file (.vgl).
- A file dialog will appear for choosing the vgl file to assign.
- In the Scene Viewport click on a terrain point where you want to add vegetation and hold left mouse button to paint vegetation or hold Ctrl+left mouse button to clear vegetation.
Paths
Tracks
Roads
Rivers
Fences


