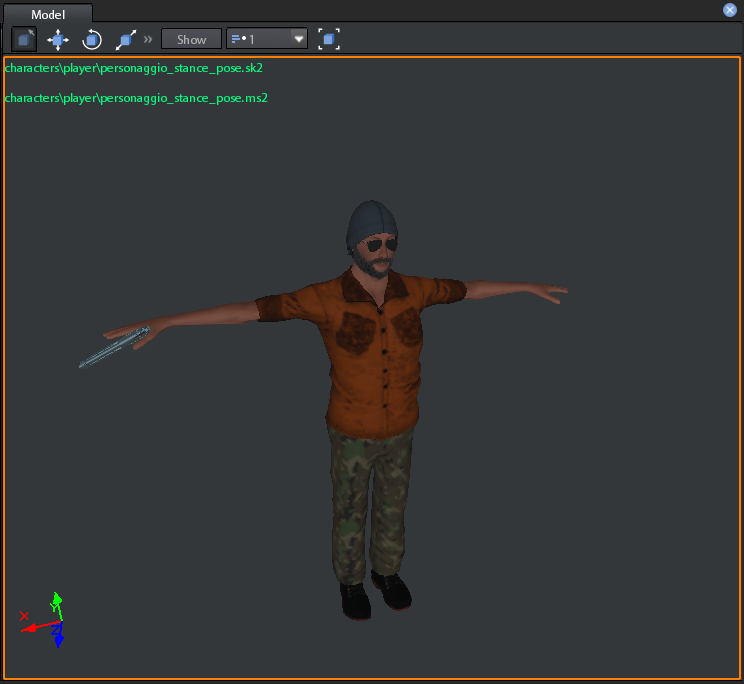
Model Viewport shows the current selected model and other information such as nodes, physics capsules, vertices, normals, etc..
On the top-left corner of the viewport there are 2 lines showed in green:
-
The
model file path relative to the project.
-
On the left bottom there is a gizmo:
It is the global gizmo showing the orientation of the model viewport 3d space.
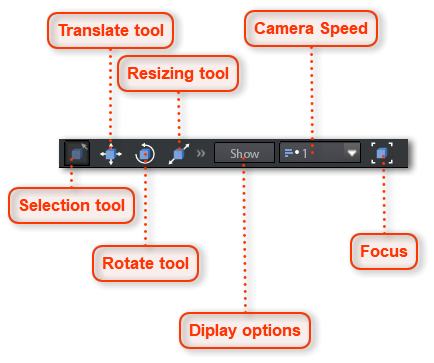
On the top of the viewport container there is the following toolbar:
 Selection toolUse this to select nodes or physics capsules.
|
 Translate toolUse this for translating nodes or physics capsules.
|
 Rotate toolUse this for rotating nodes.
|
 Resizing toolUse this for scaling nodes or chenging physics capsules dimensions.
|
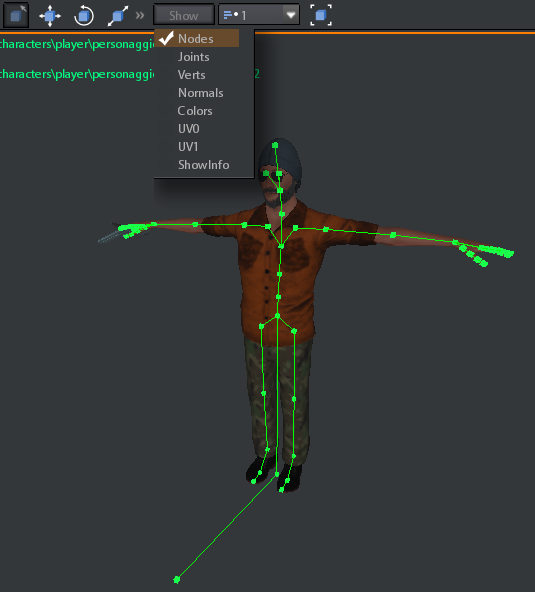
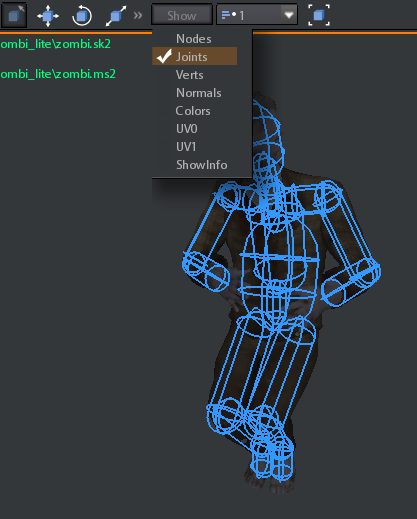
 Diplay optionsIf you press this button a list of display option appears:
-
Nodes: Displays model nodes. Use this when you want to work on model nodes.

To select, translate, rotate and scale a node you have first to display nodes
-
Joints: Displays physics capsules . Capsules are used for ragdolls and skeletal models raycasting .

To select, translate, and scale a joint you have first to display joints
-
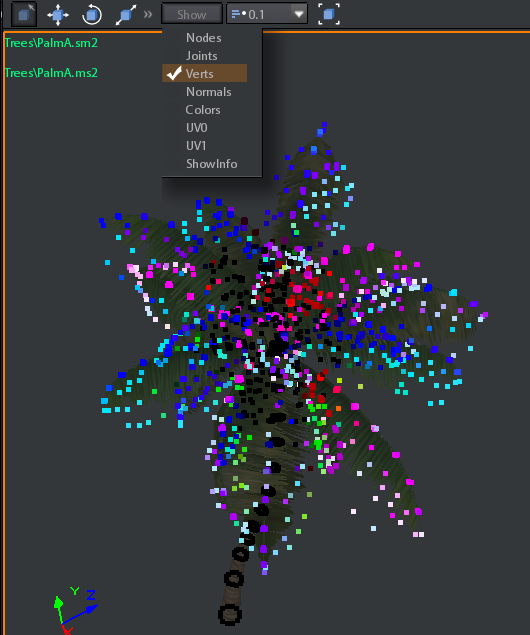
Verts: Displays model vertices. It is useful when painting on vertices for vegetation animation (see Animating a plant tutorial) .

Vertex painting can be done only on static models, no skinned or hierarchical models
-
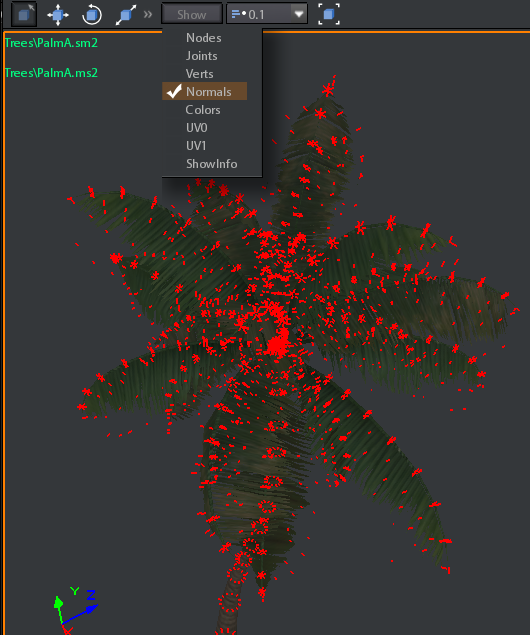
Normals: Displays model normal. Useful to understand how light reflects on the model surface .
-
Colors: Displays model triangles by blending colors of their vertices . It can be used as alternative to vertex display when editing vertices colors .

Vertex painting can be done only on static models, no skinned or hierarchical models
-
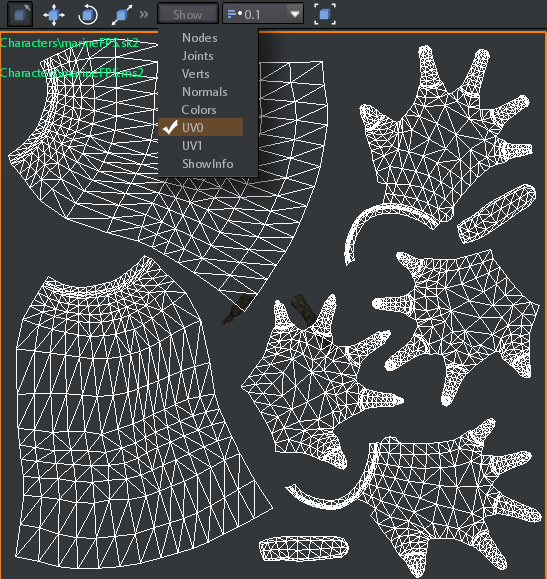
UV0: Displays the UV coordinates of the channel 0.

UV Channel 0 should always exist in an imported model
-
UV1: Displays the UV coordinates of the channel 1, if it exists .
-
Showinfo: Displays some information about the model:
-
number of triangles (number of polys) -
-
-
dimensions of its bounding box in meters

Number of triangles is not displayed for skinned models.
Bounding box of skinned models is computed basing on the position of nodes in the hierarchy
|
 Camera SpeedUse this to choose the viewport camera speed multiplicator.
You can click on the number to activate the input box and write directly the speed number.
Alternatively you can click on the downarrow and use the slide:

Speeds below 0.1 are clamped to 0.0
|
 FocusIf you press this button the viewport camera is placed to focus the selected node.

If no node is selected the whole model is focused.
|
