Starting from 2023.2 version the project creation procedure has been simplified with a wizard.
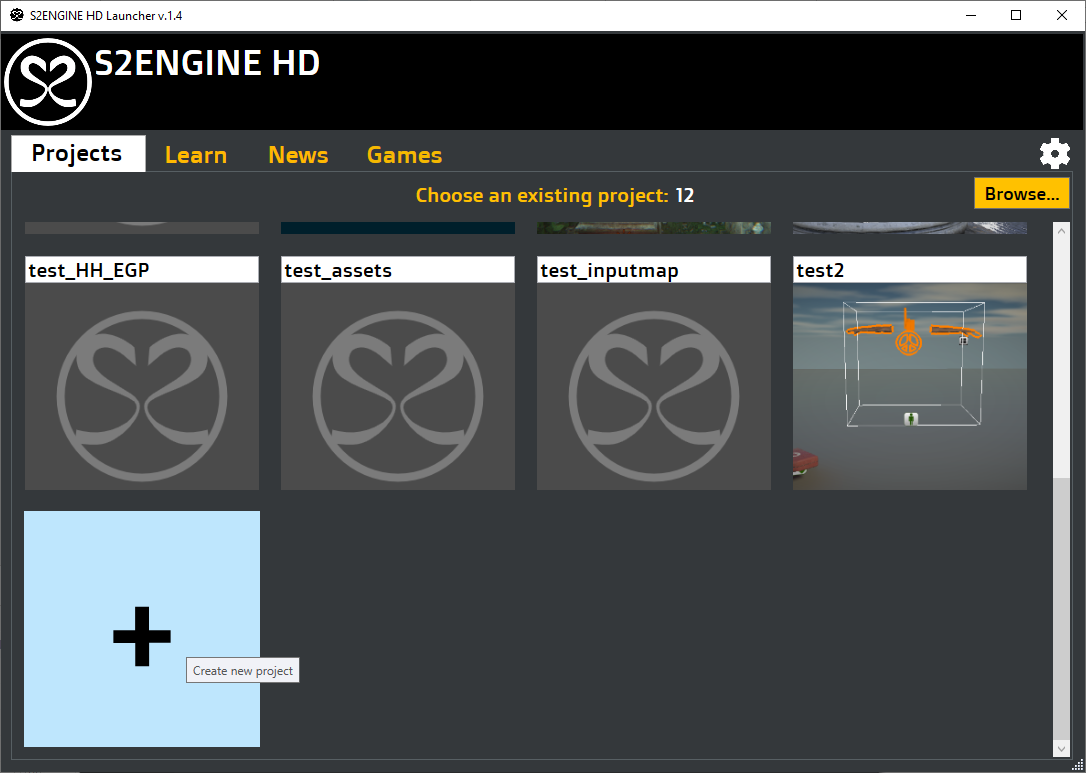
For creating a new project from Launcher clkick on the Add button at the end of the projects grid as showed into the following image:
The project creation wizard dialog will appear.
The project wizard allows you to create a new project in 3 steps:
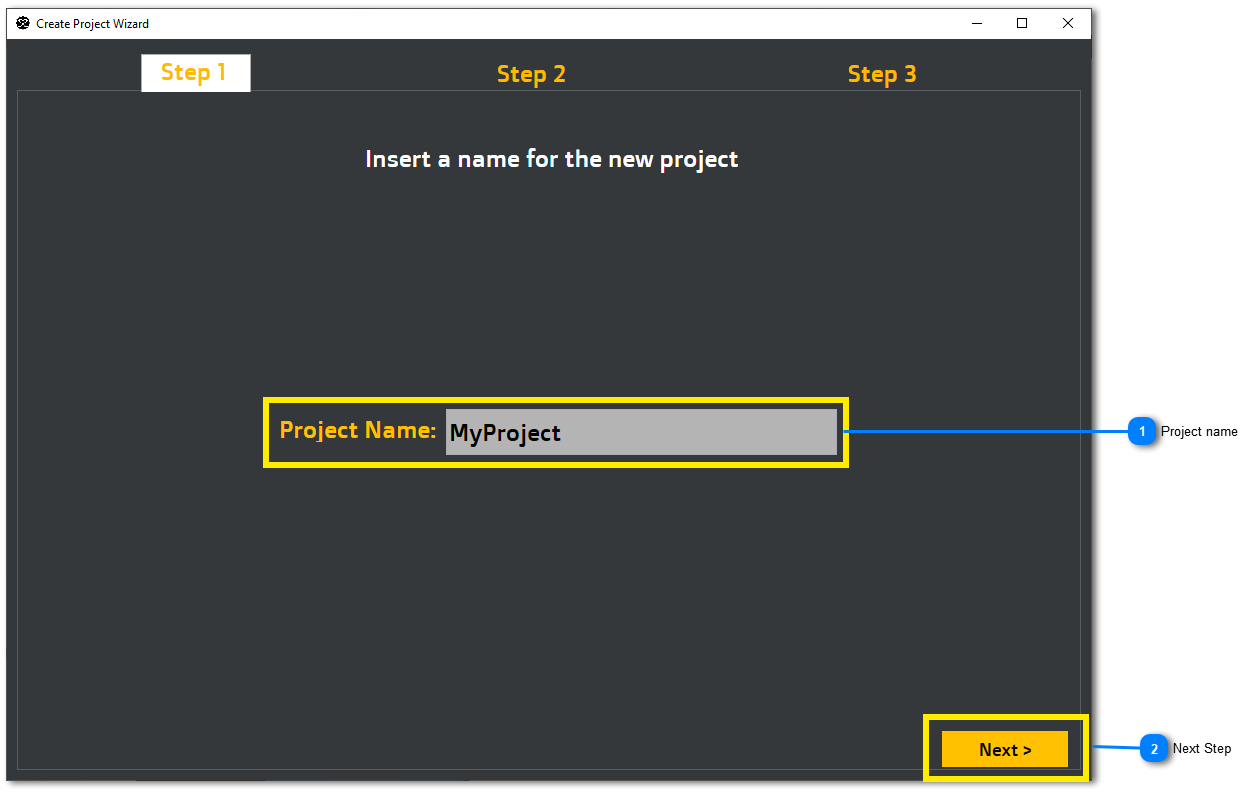
STEP 1
In this step you inster the name of the project you want to create:
 Project nameThe input box in which to insert the name of the new project to create.
|
 Next StepClick here to go to the next step
|
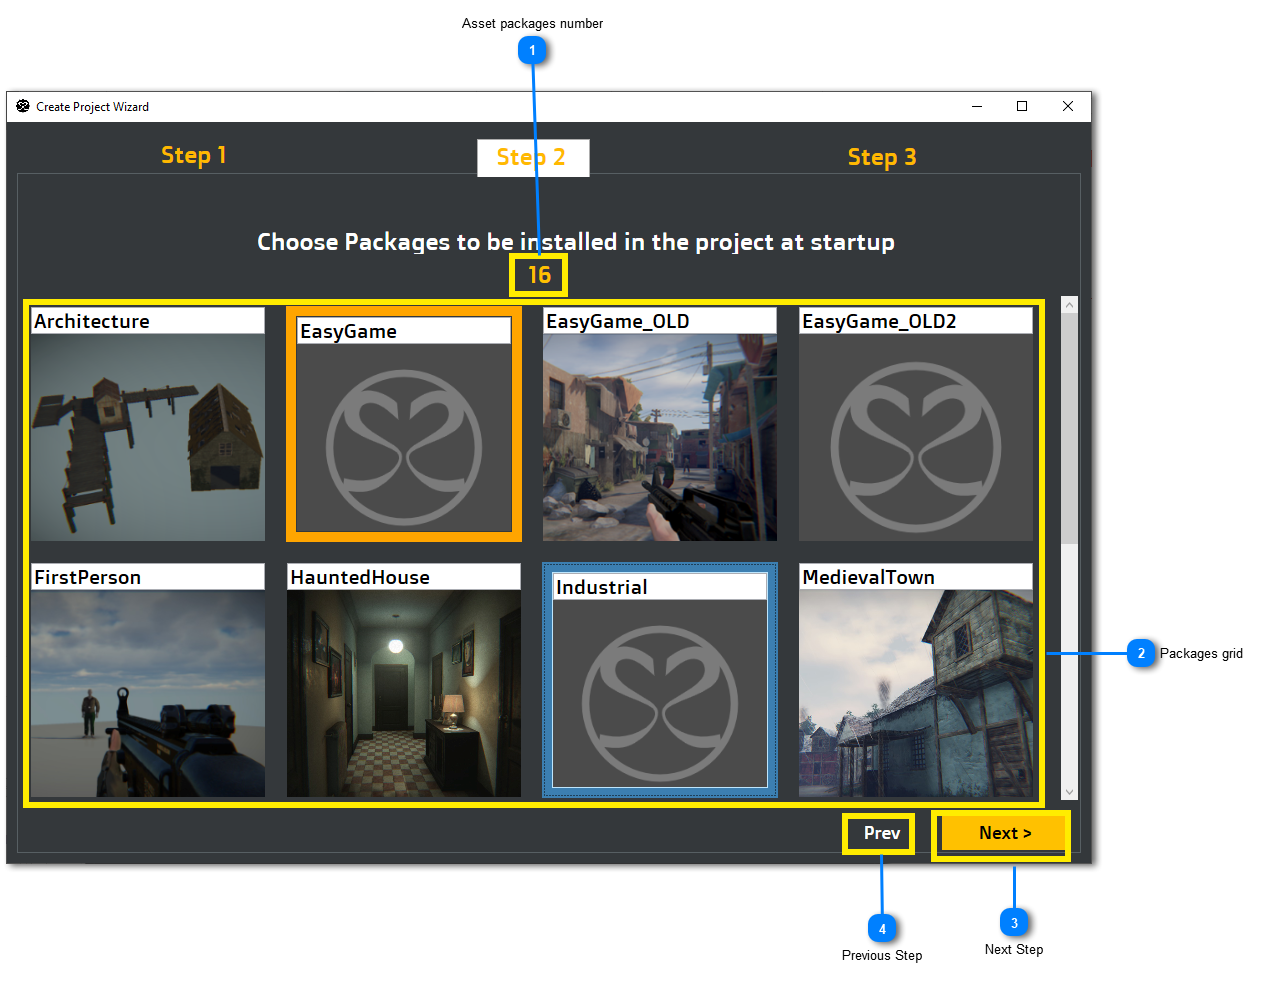
STEP 2
In this step you eventually choose one or more asset packages to be included into the project when created:
Asset packages numberTotal number of asset packages installed into the system
|
Packages gridThe grid of total packages in the system.
All packages you select will be installed into the project to create.
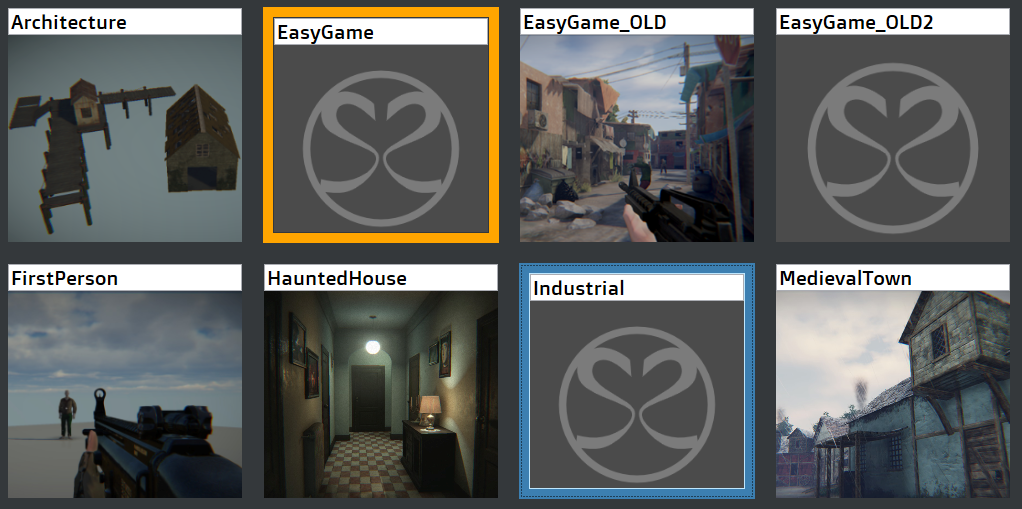
When you select a package it is highlighted with an orange box. You can click on a selected package to deselect it.
You can select as many packages as you want to install.
You can also SKIP this step without selecting any package and create a void project.
|
 Next StepClick here to go to next step
|
 Previous StepClick here to return back to previous step
|
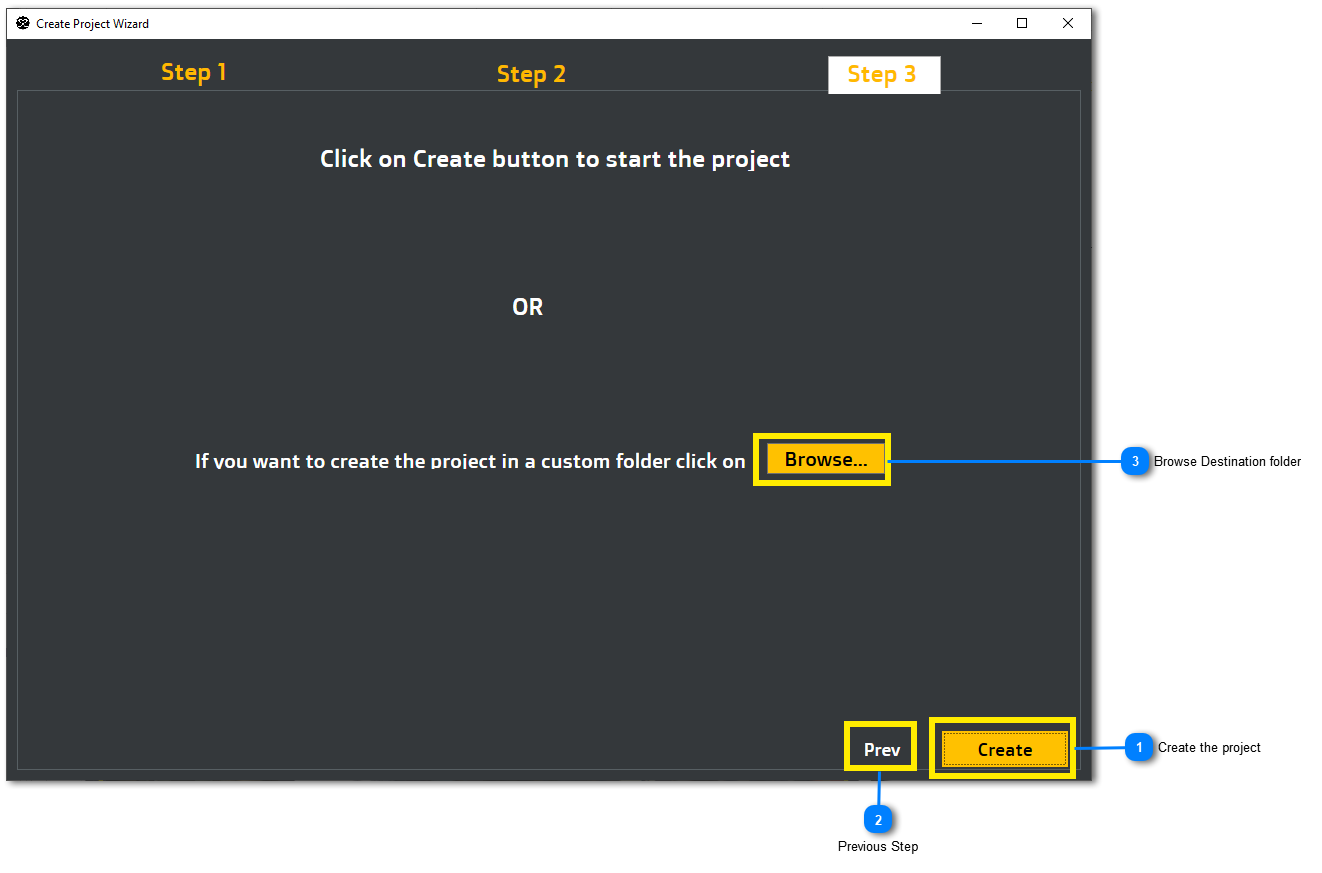
STEP 3
The final step:
Create the projectClick Here to Finish the setup phase and create the project
|
Previous StepClick here to return back to previous step
|
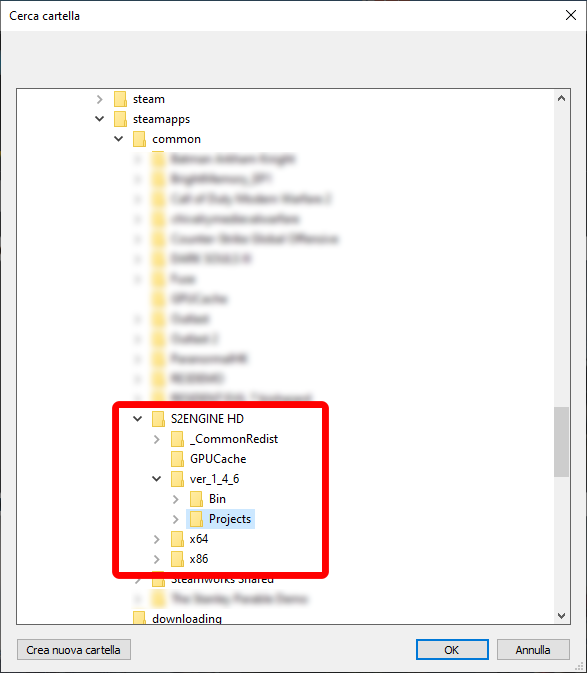
Browse Destination folderYou can eventually click here if you want the project to be installed on a folder different from the default Projects folder.
By default the project folder is automatically selected at start.
| | If you want the system to recognize the project and include it among the available projects into the libray page, you have to SKIP this.
|
|